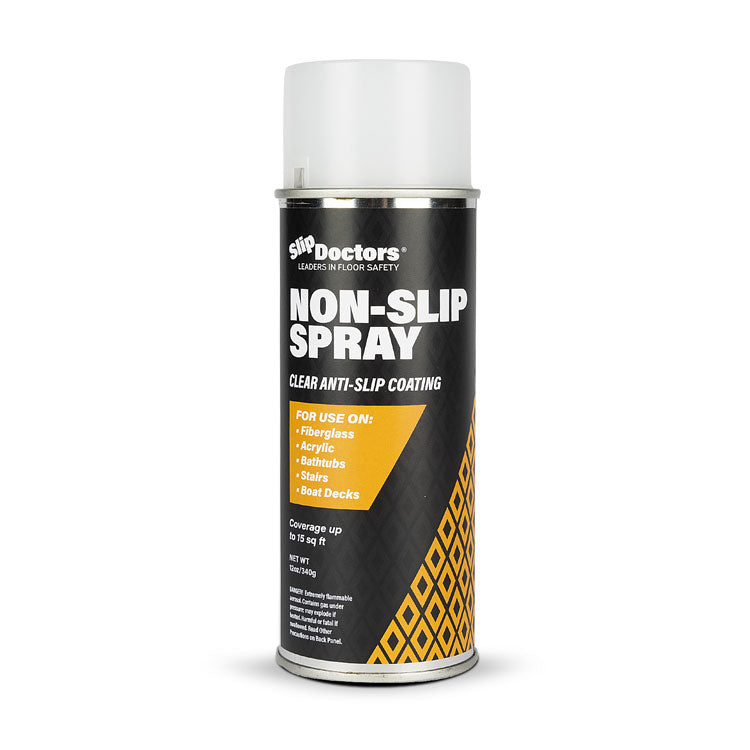

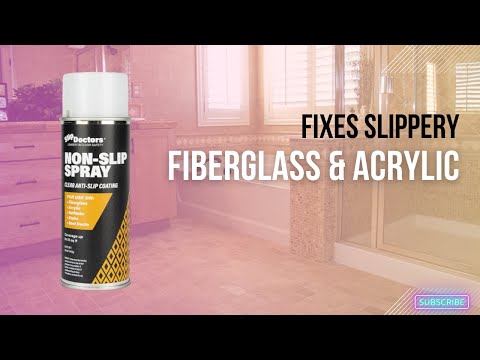
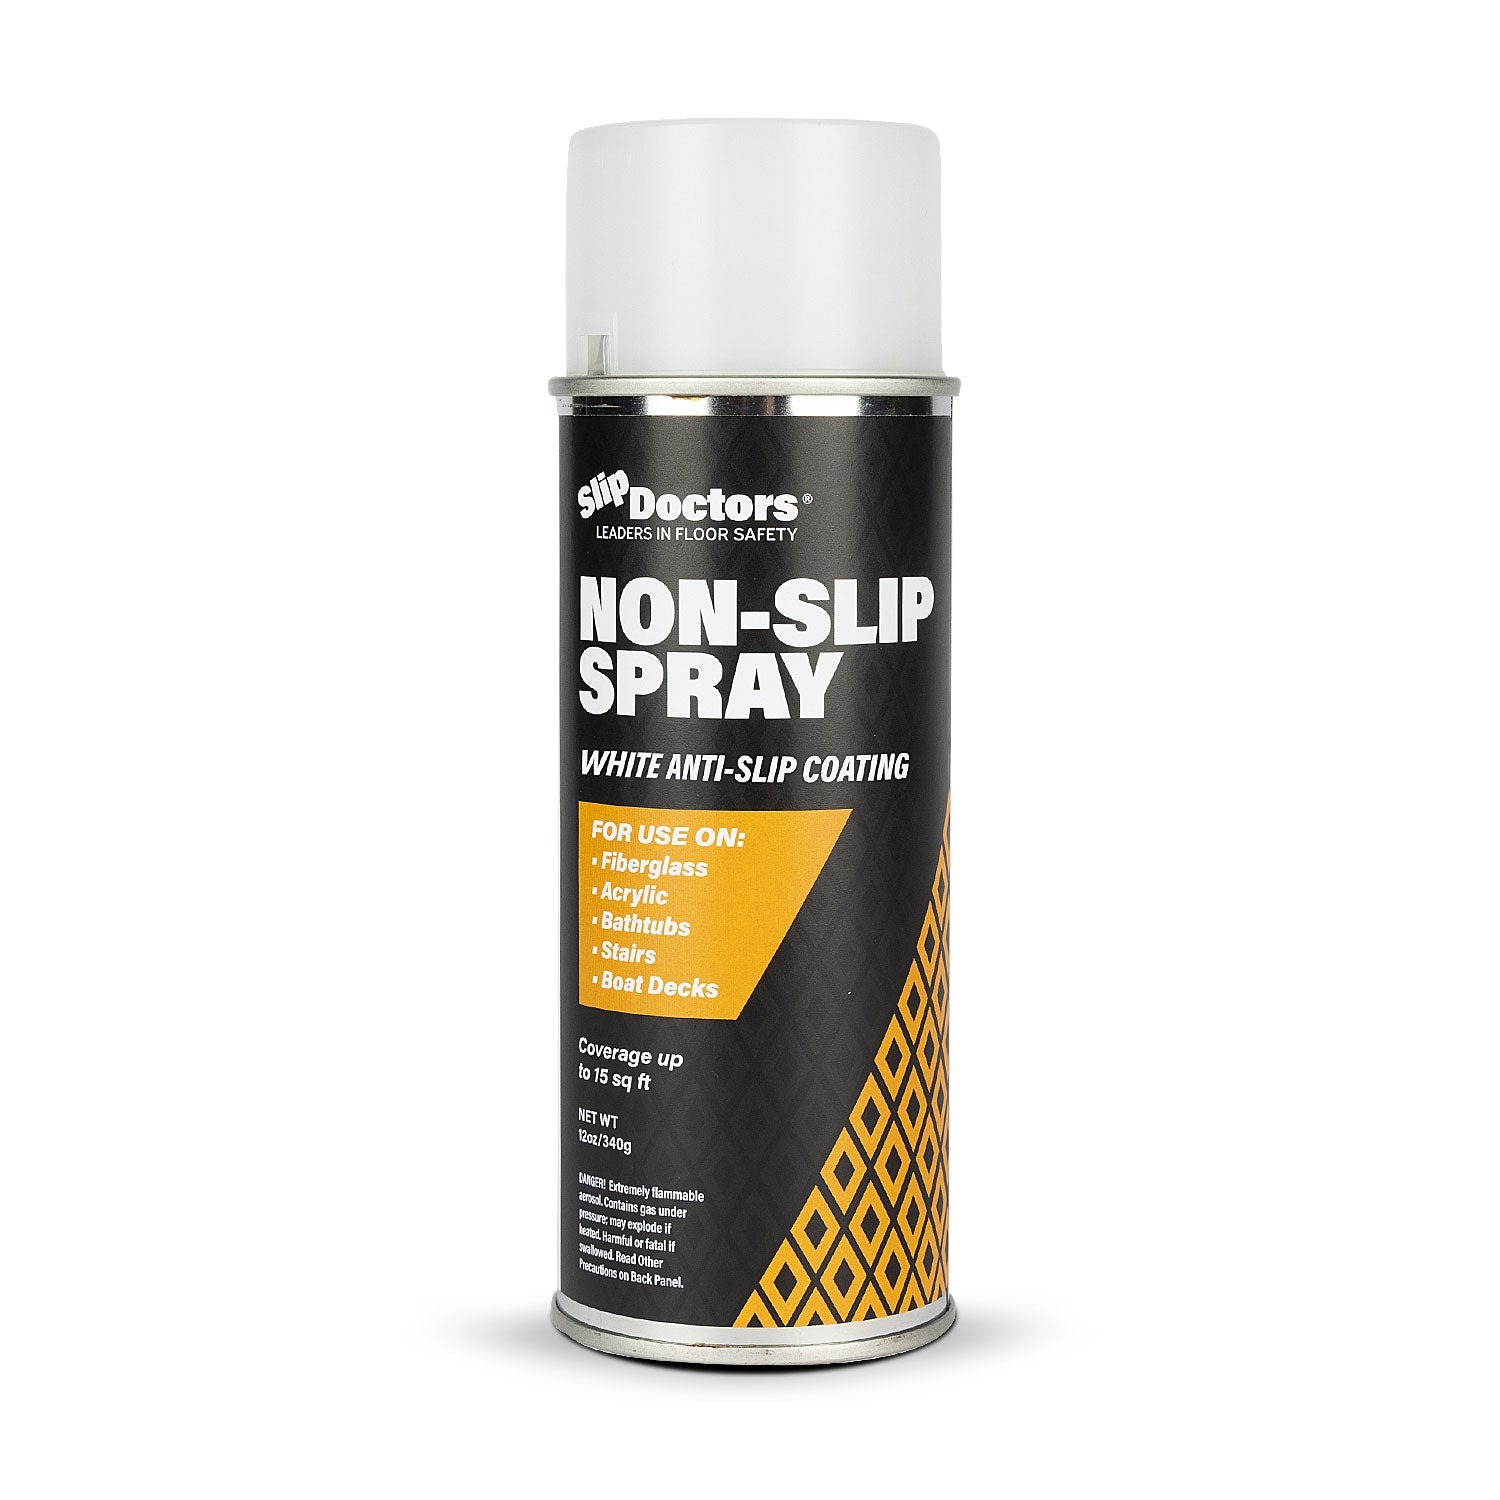

Anti-Slip Spray for Fiberglass and Acrylic
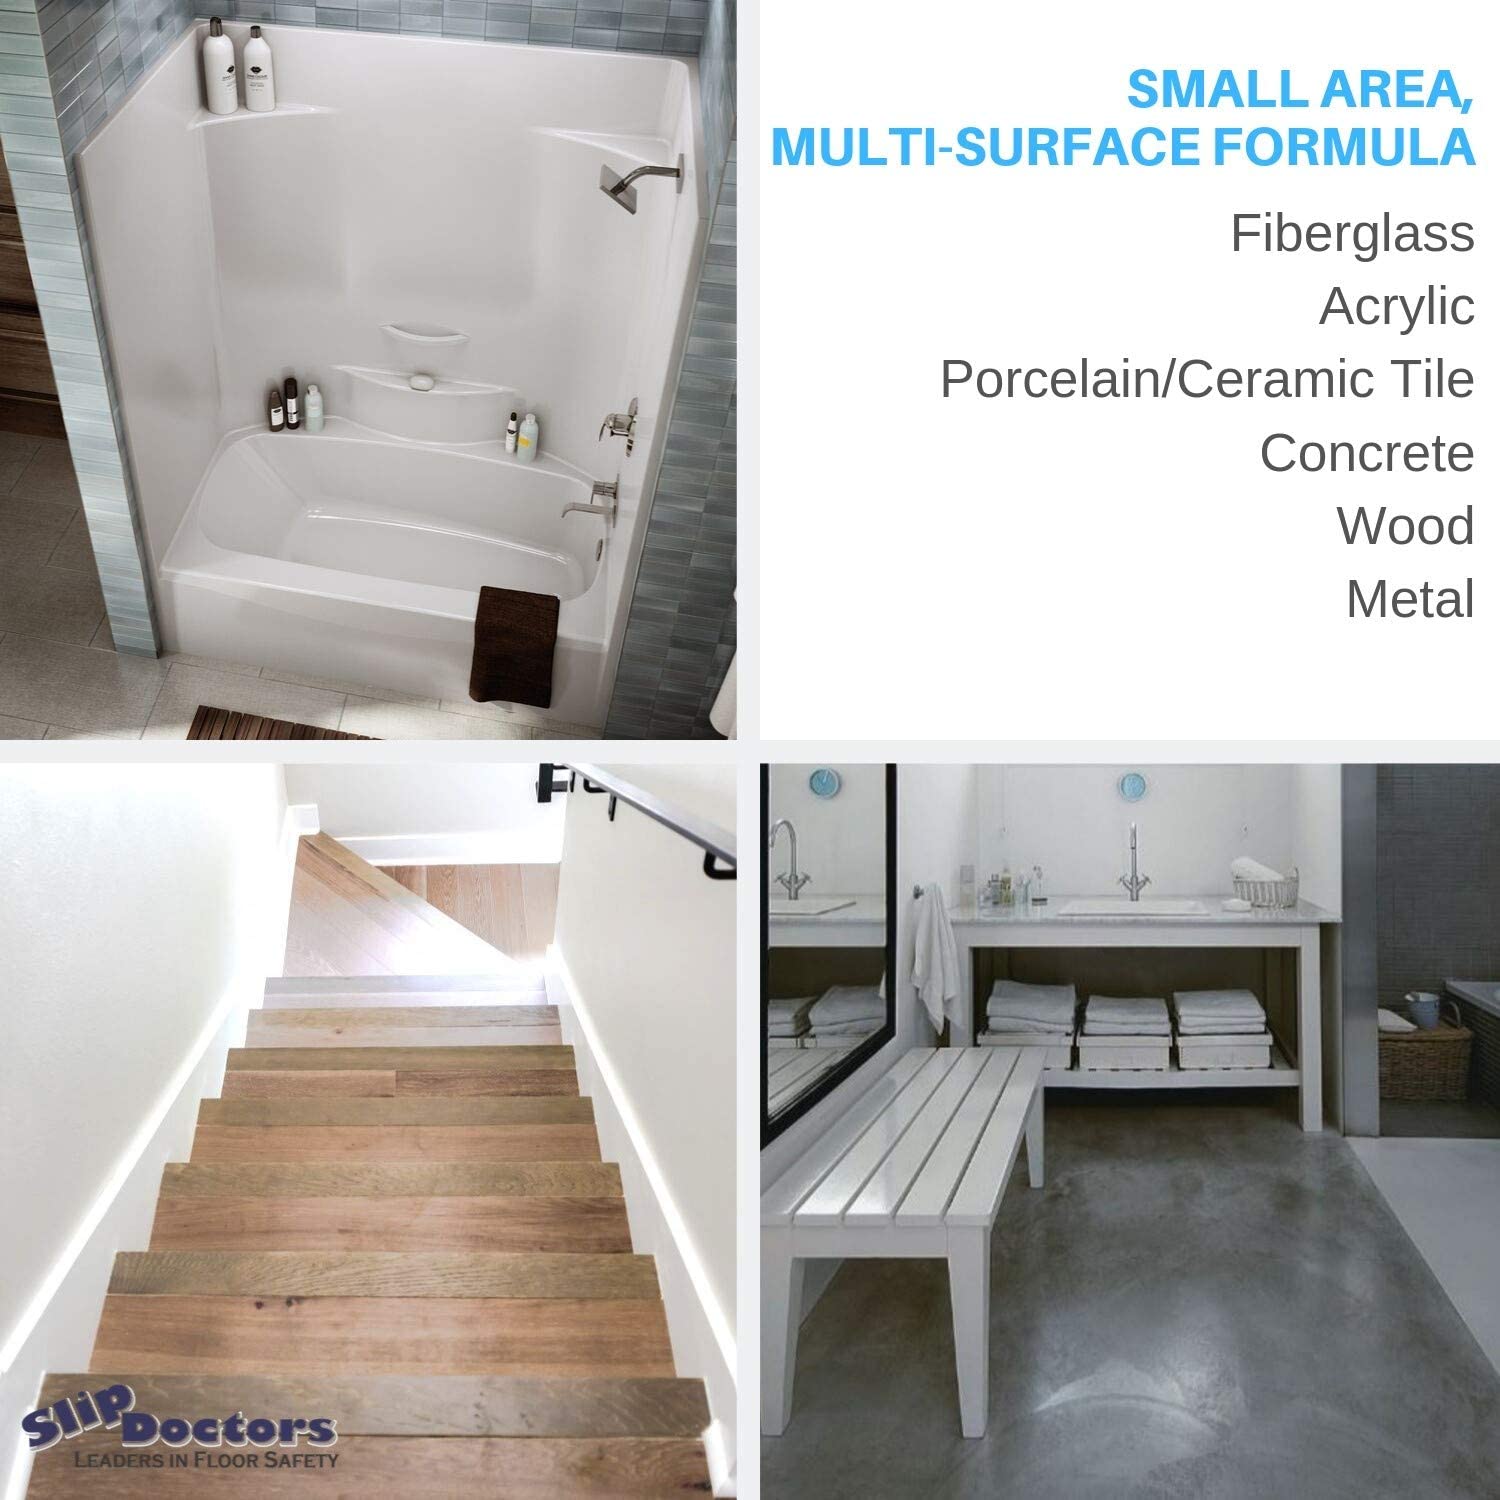
- Versatile Surface Application: Works effectively on various surfaces like fiberglass, acrylic, wood, concrete, metal, tile, porcelain, and more.
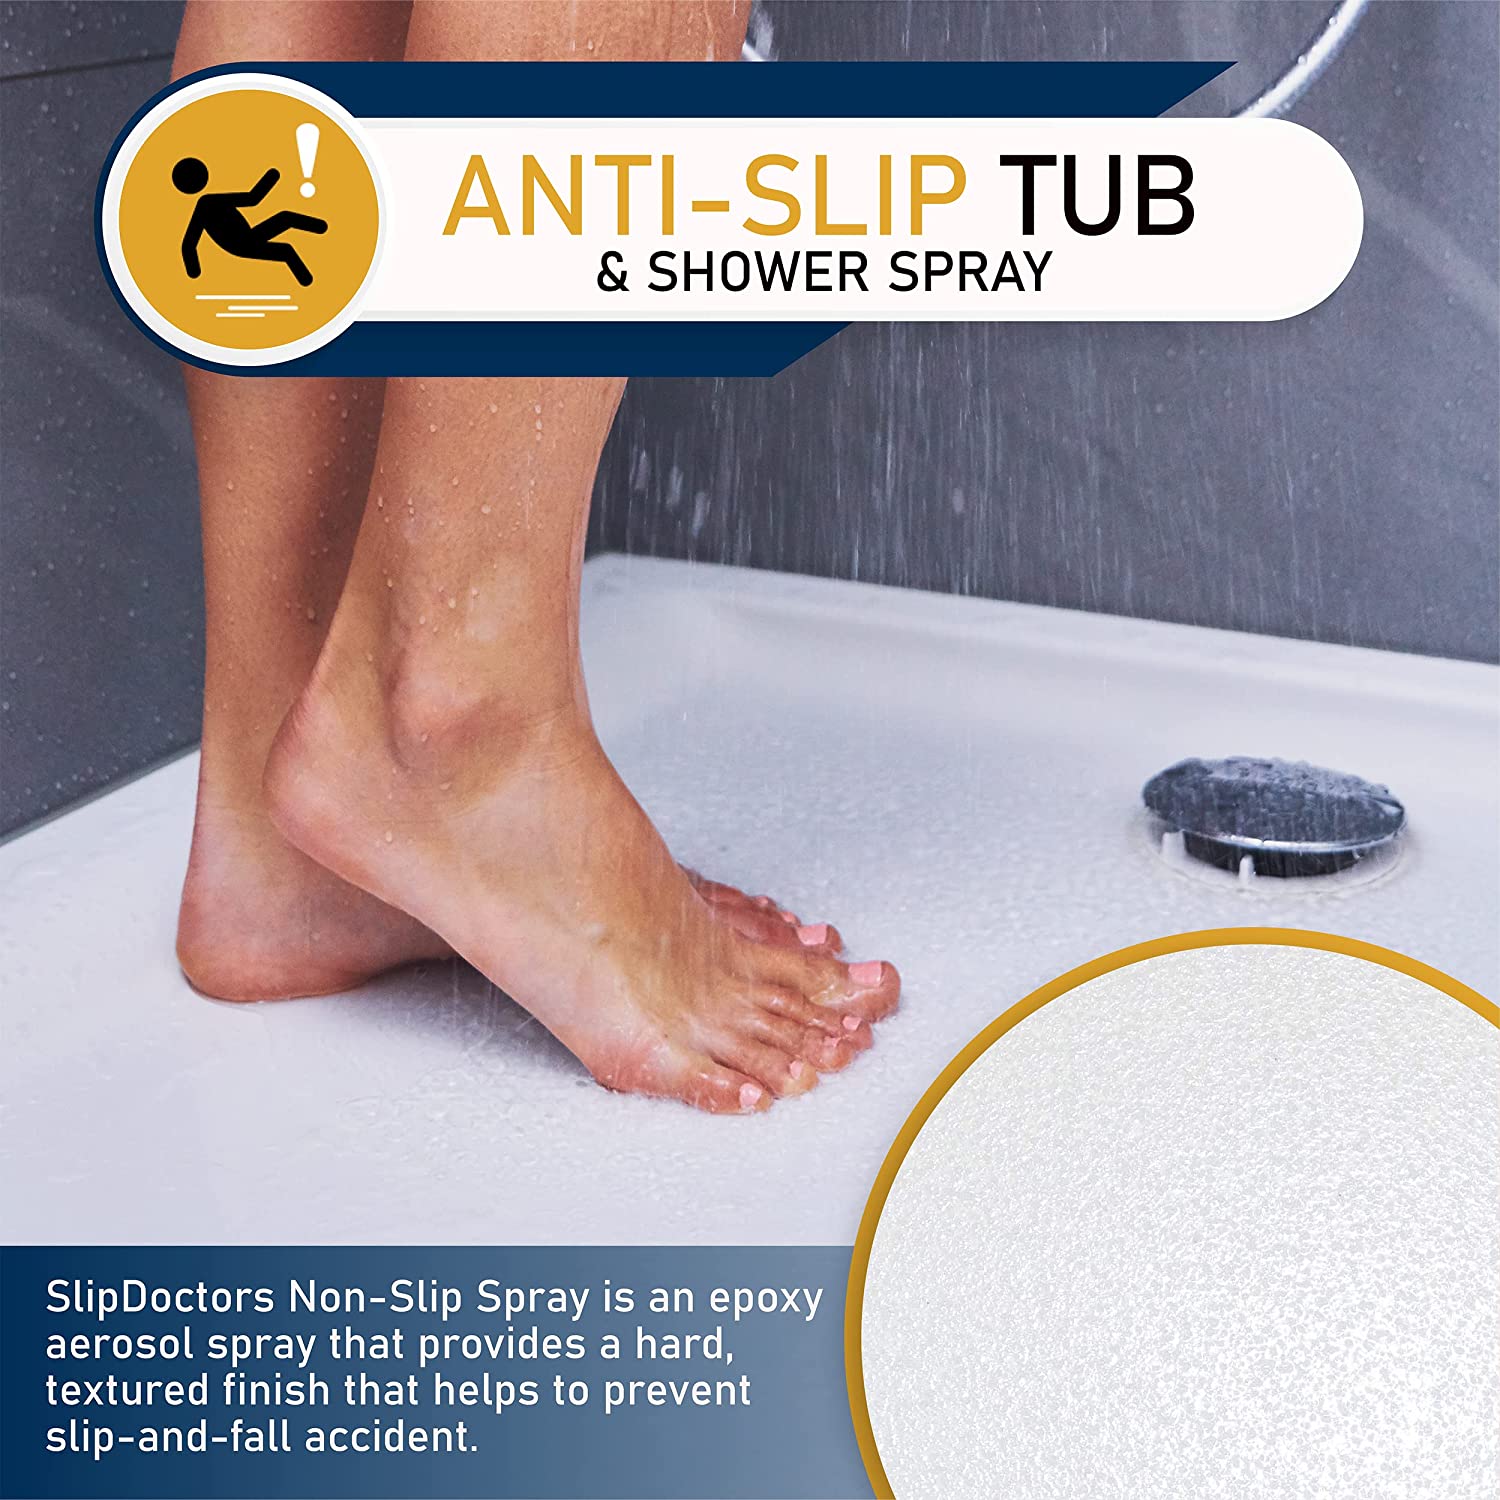
- Highly Effective Non-Slip Solution: Rated as the top aerosol spray for fiberglass and acrylic surfaces, offering a hard, textured finish to prevent slip-and-fall accidents.
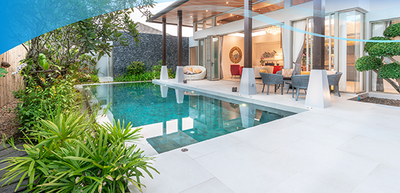
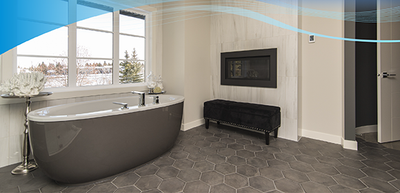
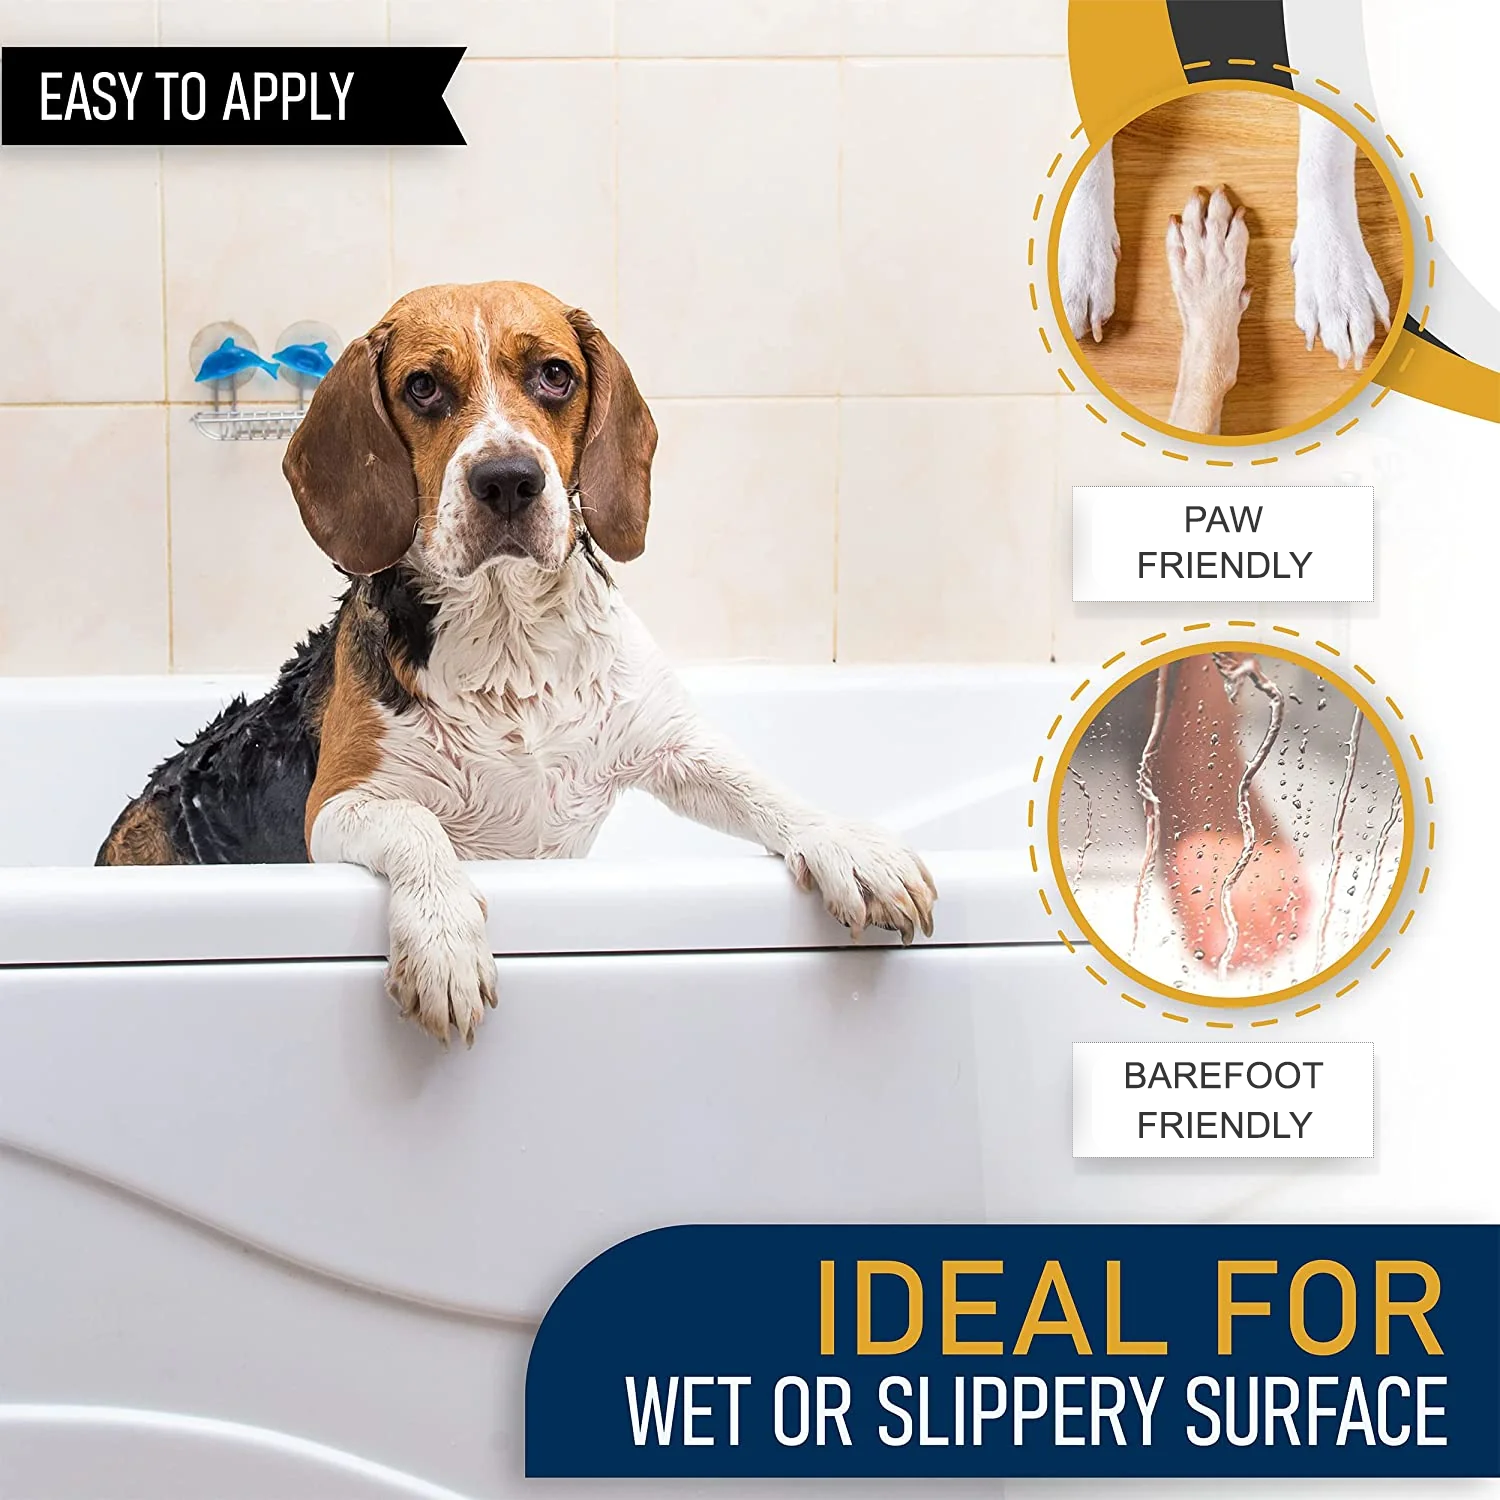
- Interior and Exterior Use: Ideal for both indoor and outdoor areas where water or slippery conditions exist, such as bathtubs, showers, and other surfaces.
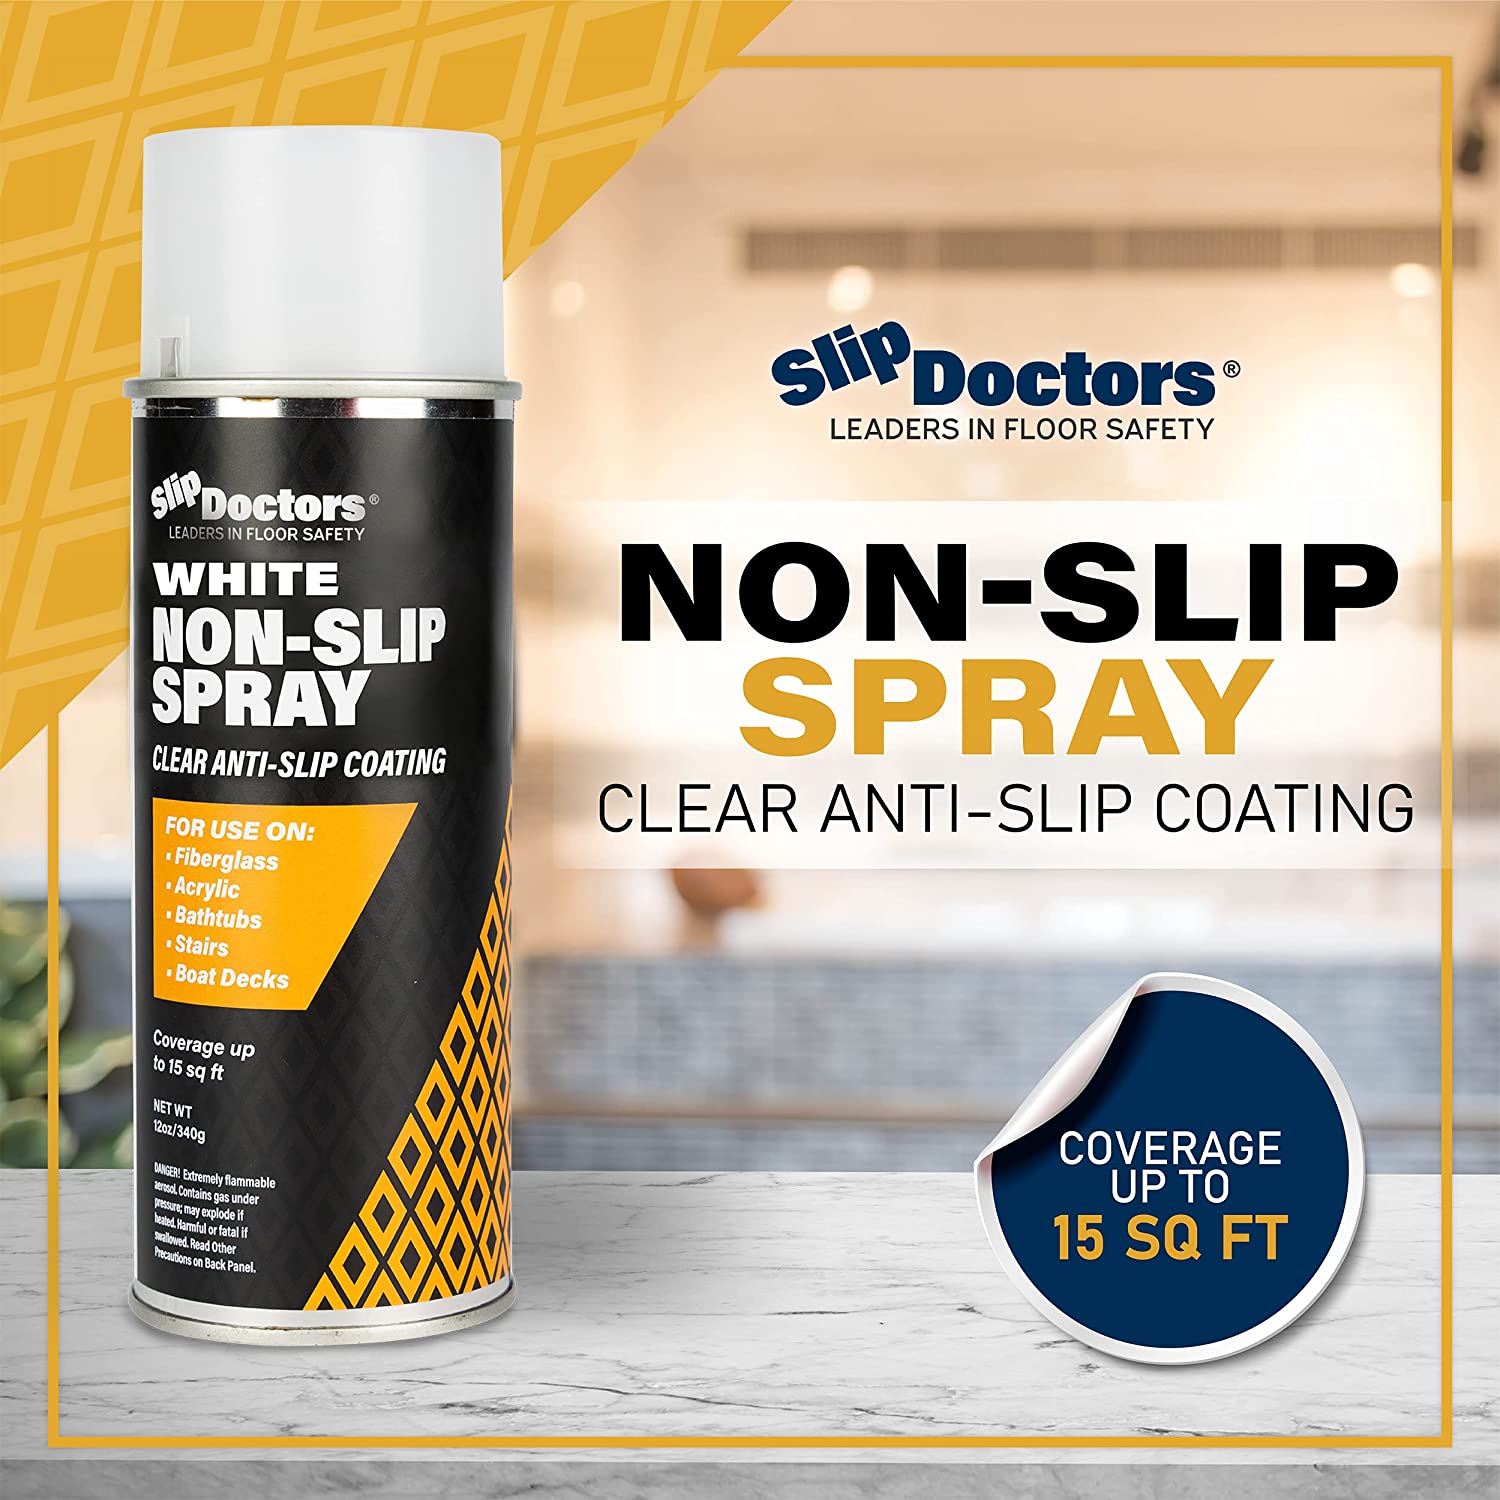
- Convenient Aerosol Application: Designed for small or irregularly shaped surfaces, with each can covering up to 15 sq. ft., providing increased traction.
- Exceeds Safety Standards: Achieves exceptional slip resistance even when wet, surpassing ANSI A137.1, A326.3, or B101.3 standards, ensuring a low slip risk.
- One Can: Up to 15 sq. ft.
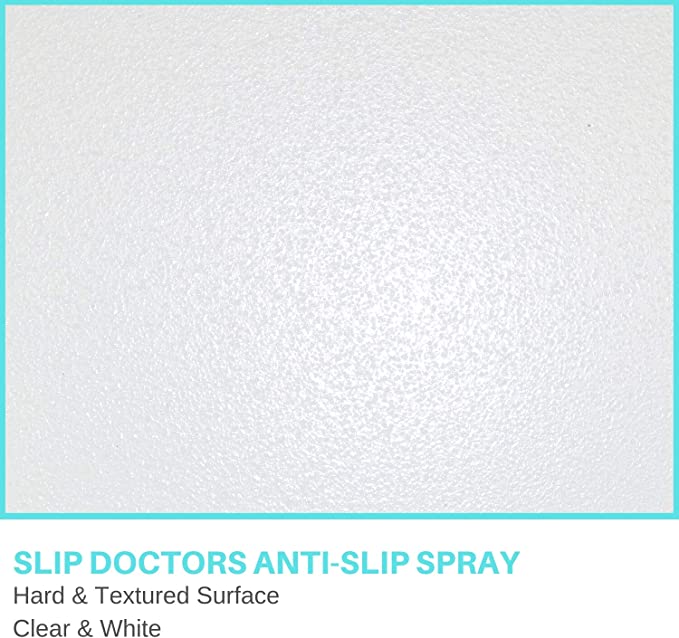
Non-Slip Spray works effectively on Fiberglass, Acrylic and most other surfaces. Available in Clear or White. Our Non-Slip spray is the highest rated aerosol spray for fiberglass/acrylic found on the market! SlipDoctors Non-Slip Spray is an epoxy aerosol that provides a hard, textured finish to help to prevent slip-and-fall accidents. It is barefoot friendly, lead-free, and chemical, gas and oil resistant.
It is ideal for both interior and exterior surfaces, it is designed for areas where water is present or slippery conditions exist such as fiberglass and acrylic bathtubs and showers, properly prepared wood, concrete, metal, tile, porcelain/ceramic and many other surfaces. This convenient aerosol spray is the perfect solution to treat small or irregularly shaped surfaces where increased traction is desired. One can covers up to 15 sq. ft.
Coefficient of Friction- 0.43 Wet DCOF - ANSI B101.3
- 0.47 Wet DCOF - A137.1 / A326.3
- 0.72 Wet DCOF - ANSI B101.1
Important: When applying to porcelain bathtubs, please repair any chips prior to application. Repair kits can be purchased at your local home improvement store. We do not recommend using black sandpaper, as it can leave behind small black dots that may be visible after using the clear spray.
Surface Preparation: Always test a small area for color compatibility and adhesion. Fiberglass/Acrylic:Lightly sand with 220 grit sand paper to promote adhesion. Clean surface with soap and water or wipe with clean cloth and lacquer thinner (or another cleaner that does not leave residue) to remove all sanding dust. Allow it to dry thoroughly. For other surface preparation instructions, please visit the Technical Data Sheet on www.slipdoctors.com.
Application:
- Step 1: Surface should be dry, clean and free of oil, wax, dirt, loose paint and other contaminants.
- Step 2: After entire surface is completely dry, properly ventilate room by opening windows, doors, turning on ceiling fans, etc.
- Step 3: Tape off application area with painters tape.
- Step 4: Mix contents of can well by shaking until the ball rattles within the can. Once ball rattles, continue to shake vigorously for 2-3 minutes. During use, shake intermittently for 10 seconds to keep product mixed.
- Step 5: Use painters paper to protect surround-ing areas from overspray. (Figure B)Spray 6 - 12 inches away from surface in a sweeping motion during application. Applying 2-3 light coats will cure, protect and look better than one heavy coat.
- Step 6: If spray stops or is irregular, turn can upside down and spray for 2-3 seconds to clear nozzle. Wipe tip, shake can and resume.
- Step 7: Slowly remove all tape and paper shortly after application. Allow 24 hours before use to allow product to fully cure. If product will be subject to prolonged periods of soaking in water, allow 48 hours before use to fully cure.
Clean Up and Removal: For effective maintenance and safe storage, follow these guidelines: To remove overspray, use paint thinner or lacquer thinner. It's crucial to clean the valve immediately before storing a partially used can. Hold the can upside down and spray until only clear gas dispenses (about 3 to 5 seconds), then wipe the tip before storage. Should the spray valve get clogged, remove and clean it using lacquer thinner, ensuring the opening faces away from the body during replacement. For product removal, if desired, acetone can be used. For comprehensive instructions, consult the Non-Slip Spray Clear and White Technical Data Sheet.